Troubleshooting: Fixing Glue Misfire on Hot Melt Binders
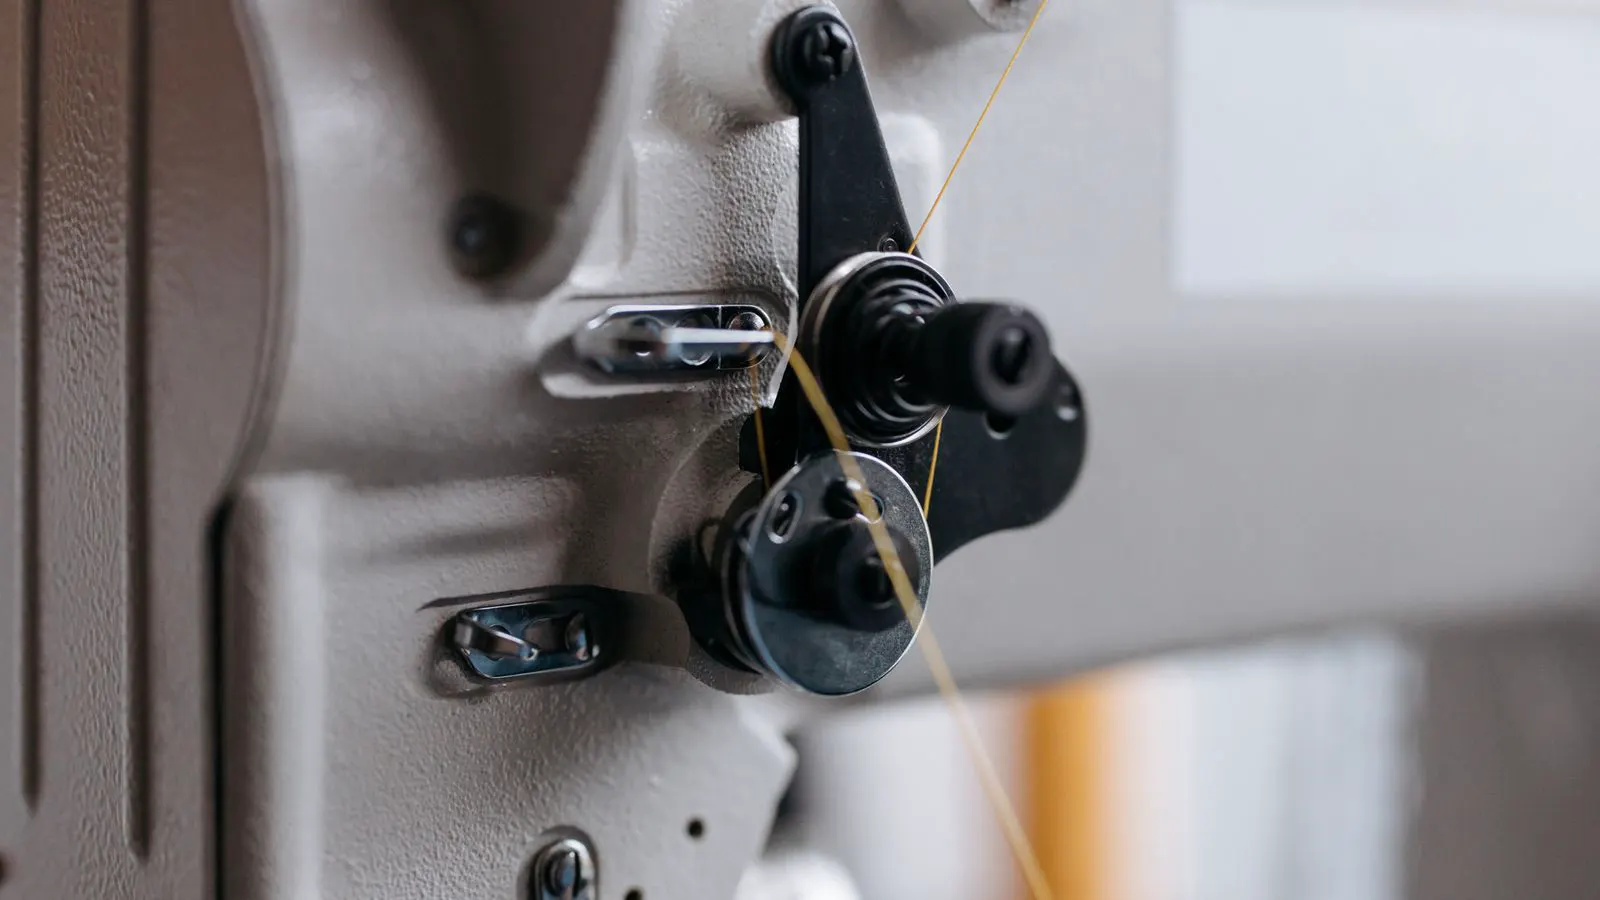
Hot melt glue misfire occurs when adhesive fails to apply consistently during binding. Common causes include clogged nozzles, incorrect temperature, or worn pump seals. Check these components and adjust your glue application settings to restore reliable adhesion.
- Hot melt glue misfire usually stems from clogged nozzles, incorrect temperature settings, or worn pump seals.
- Check the glue pot temperature and verify it matches the adhesive manufacturer's recommended range.
- Inspect and clean the glue nozzle regularly to prevent clogs and ensure a steady flow.
- Replace pump seals and gaskets before they wear out to maintain consistent adhesive pressure.
- Monitor the glue application pattern on test sheets to catch issues before a production run.
What causes intermittent hot melt glue misfire
Hot melt glue misfire shows up as gaps, thin lines, or complete dry spots on a binding line. The symptom is obvious on the finished spine, but the root cause sits inside the machine. Most failures involve the glue pot, the pump, or the nozzle assembly.
A clogged nozzle is the most frequent culprit. Old glue or dust particles block the tip. The pump then builds pressure, but the adhesive cannot exit. The machine reports a pressure spike, or the glue line breaks.
Temperature is the second major factor. If the glue pot is too cold, the adhesive becomes too thick to flow through the lines. If it is too hot, the glue degrades and may not stick properly. The result is a weak bond or a visible misfire.
Worn pump seals are less obvious. The seal wears down over time. The pump cannot hold pressure. The adhesive flow drops. The operator sees a thin line or a dry spot, but the machine does not alarm.
How to identify the specific glue application failure
Before adjusting settings, isolate the failure point. A simple visual check of the glue line on a scrap sheet reveals a lot.
Run a single sheet through the machine. Look at the glue pattern.
- A complete dry spot usually means a clog or a broken seal.
- A thin line suggests low pressure or a worn pump seal.
- A thick, uneven bead indicates the nozzle is partially blocked or the temperature is off.
- A consistent gap at the start of the line often points to a timing issue in the glue application cycle.
Check the nozzle tip with a small, non-abrasive tool. If glue is stuck to the tip, clean it carefully. Do not use metal tools that can scratch the nozzle bore. A soft plastic pick or a dedicated cleaning stick works well.
Troubleshooting table for common binding machine issues
| Symptom | Likely cause | What to do |
|---|---|---|
| Intermittent dry spots | Clogged nozzle or worn pump seal | Clean the nozzle tip and inspect the pump seal for wear. |
| Thin glue line | Low pressure or low temperature | Increase the pot temperature slightly and check the pump pressure gauge. |
| Thick, uneven bead | Partial clog or temperature too low | Clean the nozzle and verify the temperature is in the recommended range. |
| Glue on the wrong part of the spine | Nozzle misalignment or timing error | Check the nozzle position and review the glue application timing settings. |
| Adhesive not setting | Temperature too high or wrong adhesive | Lower the pot temperature and verify the adhesive type matches the job. |
| Glue line breaks after a pause | Pressure loss or seal failure | Inspect the pump seal and check for air leaks in the tubing. |
How to check and adjust glue temperature
The glue pot temperature is the first setting to verify. Most hot melt adhesives require a specific range to flow correctly. If the temperature is too low, the glue thickens. The pump struggles to push it through the lines. The result is a misfire.
Check the temperature display on the control panel. Compare it to the adhesive manufacturer’s recommended range. If the display reads correctly but the glue is still thick, the sensor may be faulty. Verify the reading with a separate infrared thermometer or a probe placed in the glue pot.
If the temperature is too high, the glue degrades. It loses its adhesive properties and may release fumes. Lower the temperature to the middle of the recommended range. Do not guess. Use the data from the adhesive supplier.
How to clean and maintain the glue nozzle
The nozzle is the point where the glue meets the book. It is also the first point of failure. Clean the nozzle before and after every shift. A quick cleaning prevents clogs from building up.
Use a soft cloth to wipe the exterior of the nozzle. For internal cleaning, use a dedicated nozzle cleaning tool or a thin, flexible plastic pick. Do not force the tool into the bore. You can expand the opening and cause a poor fit with the replacement tip.
If the nozzle is clogged with hardened glue, do not use heat to melt it while the machine is running. This can damage the nozzle. Power down the machine, let it cool slightly, and then carefully remove the hardened material.
Replace the nozzle tip if it is worn or if the bore is scratched. A worn tip changes the glue pattern. Even a small scratch can cause a misfire.
How to inspect and replace pump seals
The pump seal is a small rubber or polymer part that sits inside the glue pump. It seals the gap between the pump shaft and the housing. When it wears, the pump cannot maintain pressure.
Check the seal every few months, or more often if the machine runs high volumes. Look for cracks, flattening, or discoloration. If the seal is worn, replace it. Do not try to repair a worn seal.
When replacing the seal, follow the machine manual for the correct part number. Do not substitute a different type of seal. The material must be compatible with the hot melt adhesive.
After replacing the seal, run the pump for a short cycle. Check for leaks. Run a test sheet through the machine. Verify the glue line is consistent.
How to adjust glue application timing
The glue application timing controls when the glue is released during the binding cycle. If the timing is off, the glue is applied at the wrong moment. The book moves before the glue is fully released. The result is a gap or a thin line.
Check the timing settings on the control panel. Compare them to the settings for a standard job. If the job has a different thickness or weight, the timing may need adjustment.
Run a test sheet through the machine. Observe the glue line. If the line is thin, increase the glue application time slightly. If the line is too thick, decrease the time. Make small adjustments. Re-test after each change.
How to prevent recurring hot melt glue misfire
Prevention is easier than repair. A routine maintenance schedule keeps the glue system working correctly.
- Clean the nozzle tip before and after each shift.
- Check the glue pot temperature at the start of each day.
- Inspect the pump seal every three months.
- Run a test sheet through the machine after any maintenance.
- Keep spare nozzle tips and pump seals on hand.
A simple log book helps track maintenance. Record the date, the temperature, the seal replacement, and the nozzle cleaning. When a problem occurs, the log shows the last service date. This speeds up diagnosis.
Also, check the glue supply. Low-quality adhesive can clog nozzles. Use adhesive from a reputable supplier. Store it in a cool, dry place. Do not use adhesive that has been sitting in the pot for too long. Old adhesive hardens and clogs the lines.
How to verify the fix after troubleshooting
After adjusting the settings or cleaning the components, run a full test run. Do not start production until the glue line is consistent.
Run ten sheets through the machine. Inspect each spine. Look for gaps, thin lines, or thick beads. If the pattern is consistent, the fix is working.
If the problem returns, check the log book. See when the last maintenance was. Check the temperature. Check the seal. The issue is likely in one of these components.
Do not ignore a minor misfire. A small gap today can become a full failure tomorrow. Fix it now.
Frequently asked questions
How often should I clean the hot melt glue nozzle?
Clean the nozzle tip before and after each shift. A quick wipe prevents clogs and keeps the glue flow steady.
What is the best way to check the glue pot temperature?
Check the display on the control panel and verify it with a separate infrared thermometer. Compare the reading to the adhesive manufacturer's recommended range.
Can a worn pump seal cause intermittent glue misfire?
Yes. A worn seal causes pressure loss. The pump cannot push the adhesive through the lines. The result is a thin line or a dry spot.
How do I know if the glue temperature is too high?
If the glue degrades, it may release fumes or not stick properly. If the temperature is above the recommended range, lower it to the middle of the range.
What should I do if the glue line is too thick?
Decrease the glue application time slightly. Check the nozzle for a partial clog. Clean the nozzle tip if needed.