How Die Cutting Works in Post Press Finishing
Die cutting uses a steel frame with a blade to slice finished sheets along a specific outline. It creates precise shapes for labels, packaging, and inserts. The process requires alignment, tooling, and material control to prevent chipping and ensure consistent edges.
- A die is a shaped frame that holds a blade and a backing plate to cut sheet material along a precise outline.
- The choice of die shape and blade type affects edge quality, speed, and tooling cost.
- Sheet thickness, material type, and registration accuracy determine whether a die cut will look clean or rough.
- Buyers should match the die cutting method to the job's edge tolerance and production volume.
- Common defects include chipped corners, blade marks, and misregistration that shift the cut off the design.
What a die is and how it cuts
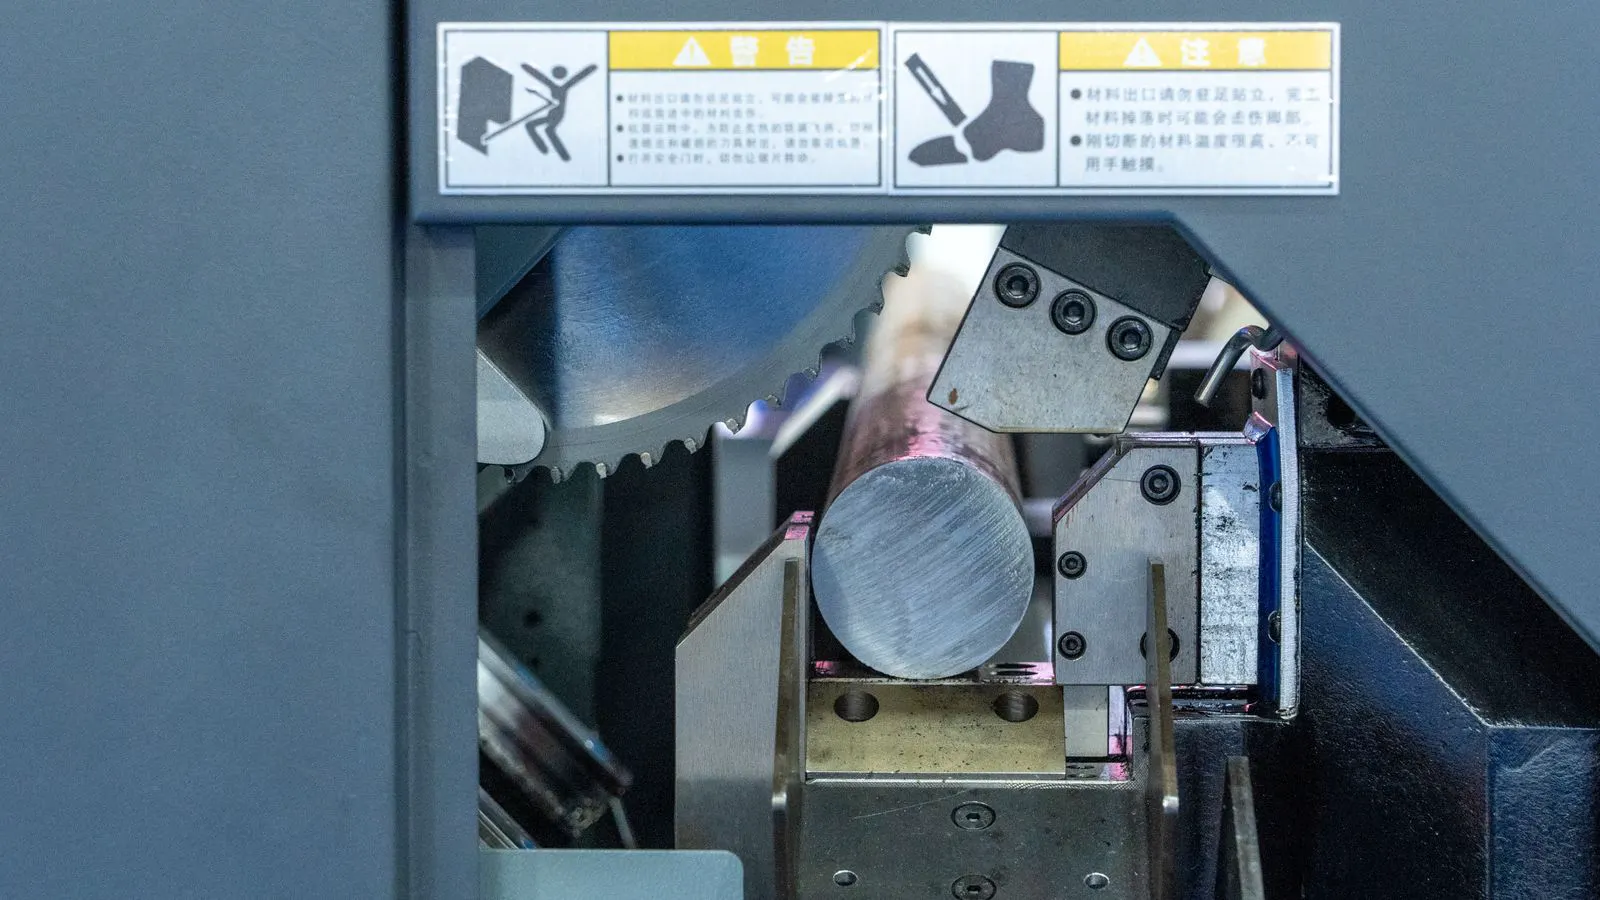
A die is a steel or aluminum frame with a cutting edge and a backing plate. The cutting edge follows the shape of the finished piece. When the press applies pressure, the blade presses the blade against the sheet and the backing plate. The material between the blade and the plate gets sliced.
The die can be a simple shape, like a rectangle or circle. It can also be a complex outline, such as a bottle shape, a tab, or a multi-part insert. The frame holds the blade in place. The backing plate supports the material from below. The press ram pushes the die down onto the sheet.
There are two main die types. Straight cut dies use a flat blade that cuts in a straight line. They are common for rectangular sheets, labels, and simple shapes. Contour cut dies use a shaped blade that follows a curved or complex outline. They are used for shaped packaging, die cut inserts, and decorative edges.
The blade material matters. Soft blades cut thin paper and film more cleanly. Harder blades hold an edge longer for thicker or tougher materials. The choice depends on the substrate and the expected run length.
How the sheet moves through the die
The sheet arrives at the die cutting station already printed and often laminated or converted. The operator or an automatic feeder places the sheet on the backing plate. The die is positioned over the sheet. The press ram descends. The blade cuts the material. The ram rises. The cut piece is removed.
In a manual press, the operator feeds one sheet at a time. This works for short runs or complex jobs. In a semi-automatic press, the operator loads a stack, and the machine feeds sheets one by one. In an automatic press, a feeder stacks the sheets and feeds them without manual intervention. The speed depends on the machine and the job.
The sheet must be registered to the die. If the printed design is off center, the cut will appear shifted. The operator aligns the sheet using registration marks. The die is fixed to the press bed or the platen. The alignment happens before the ram descends.
The cut happens in a single stroke. The blade does not scrape or rub. It presses and releases. The material separates cleanly if the blade is sharp and the pressure is correct. If the pressure is too low, the cut is incomplete. If the pressure is too high, the blade can dig into the backing plate or chip the corners.
Material limits and blade selection
Not every material cuts the same. Paper, cardstock, kraft board, and thin films all have different densities and fiber structures. A blade that slices 100 gsm paper cleanly may leave a rough edge on 300 gsm board. The thicker the material, the more force the blade needs. The more force, the more the blade can chip the corners if it is dull.
Blade selection depends on the material and the edge tolerance. For a clean edge on a thin film, a fine toothed blade works well. For a thick board, a straight blade with a larger bevel may hold up better. The bevel angle affects how the blade enters the material. A sharper bevel cuts thinner materials. A broader bevel handles thicker or tougher stock.
The backing plate also affects the cut. A hard backing plate gives a clean break. A softer backing plate can cushion the blade and reduce chip marks. The plate must be flat. Any warp in the plate changes the pressure across the sheet. One corner may cut deeper than the others.
What causes a bad die cut
The most common defects are chipped corners, blade marks, and misregistration. A chipped corner happens when the blade bites into a sharp angle too hard. The fiber or film tears instead of slicing. A blade mark happens when the blade is dull or the pressure is uneven. The mark is a thin line or shadow near the edge. Misregistration happens when the sheet shifts before the cut. The design sits off the cut line by a visible amount.
Sheet thickness and material type drive these defects. Thin films can stretch under the blade. Thick boards can compress before the blade reaches the bottom layer. The result is a cut that looks uneven. The operator can reduce these problems by adjusting the press speed, checking the blade sharpness, and confirming the backing plate is flat.
The die itself can wear. The blade edge dulls over time. The frame can bend if the press ram is misaligned. A bent frame changes the distance between the blade and the backing plate. The cut becomes shallow in one area and deep in another.
How die cutting fits into a finishing line
Die cutting sits after printing and often after lamination. The printed sheet goes through the press. It may be laminated to add a protective layer. It may be scored or punched. Then it goes to the die cutting station. The die cuts the sheet into its final shape. The cut pieces may be stacked, collated, or moved to a binding or packaging step.
The position in the line matters. If the sheet is cut before lamination, the die cuts the raw board and the film. This can leave rough edges on the laminate. If the sheet is cut after lamination, the die cuts through the laminate and the board at once. The edge is cleaner, but the blade must handle both layers. The choice depends on the material and the edge quality needed.
For packaging, die cutting often comes before folding or gluing. The cut shape defines the box or folder. The cut edges must match the fold lines. If the cut is off, the box will not fold flat. For labels, die cutting often comes after printing and lamination. The cut defines the label shape. The edge must be smooth enough to apply cleanly to a surface.
Choosing a die cutting method for a job
The method depends on the shape, material, volume, and edge tolerance. A short run of complex shaped labels can use a manual or semi-automatic press. The operator can adjust the die for each sheet. A long run of simple rectangular sheets can use an automatic press. The machine feeds stacks and cuts at a steady pace.
The die cost is a factor. A custom die for a complex shape costs more to make. A simple rectangular die is cheaper. The die can be reused if the shape and material stay the same. If the shape changes, the die must be remade or adjusted. The tooling cost should be factored into the job.
The speed of the press is a factor. A manual press cuts one sheet at a time. A semi-automatic press feeds sheets in a stack. An automatic press can cut many sheets per minute. The speed depends on the die size, the sheet size, and the press type. The operator must match the press speed to the blade and the material. A slow press with a sharp blade can produce a cleaner edge than a fast press with a dull blade.
The edge tolerance is the final factor. Some jobs need a cut within a fraction of a millimeter of the design line. Other jobs allow a small shift. The tolerance affects the registration, the die precision, and the press setup. The closer the tolerance, the more care the operator must take with alignment and blade condition.
A plain example of the process
A printer receives an order for 5000 labels in a rounded rectangle shape. The labels are printed on 250 gsm paper and laminated with a matte film. The die is a rounded rectangle with a blade that follows the curve. The backing plate is a flat steel plate.
The operator loads the printed sheets into the semi-automatic feeder. The feeder stacks the sheets and feeds them one at a time onto the backing plate. The die is positioned over the sheet. The operator checks the registration marks. The design aligns with the cut line.
The press ram descends. The blade presses through the film and the paper. The backing plate supports the sheet from below. The cut piece separates. The ram rises. The next sheet is fed. The process repeats.
After the run, the operator inspects the edges. The corners are clean. The cut line follows the design. There are no blade marks. The labels can be stacked and shipped. The die is checked for wear. The blade is sharpened or replaced if needed. The job is complete.
Quick reference for common die types
| Die type | Typical use | Material range | Edge quality | Tooling cost |
|---|---|---|---|---|
| Straight cut | Rectangles, simple shapes | Thin paper, film, thin board | Clean, fast | Low |
| Contour cut | Complex outlines, shaped packaging | Paper, board, film, composite | Depends on blade and material | Medium to high |
| Punched die | Holes and tabs | Thin paper, film, thin board | Clean if blade is sharp | Low to medium |
| Multi-station die | Multiple shapes in one pass | Paper, board | Varies by station | High |
The table shows how the die shape and function change the sourcing decision. A straight cut die is the simplest to specify. A contour cut die requires more detail about the outline and the material. A punched die is used when the job needs holes or tabs in addition to the outer cut. A multi-station die is used when the same press must cut different shapes or combine cutting with other operations.
The table also shows the trade-off between tooling cost and flexibility. A simple die is cheap to make and easy to change. A complex die costs more and takes longer to make. The buyer must decide which trade-off fits the job. A one-off job with a complex shape may justify the tooling cost. A long run of a simple shape may not.
Final check before the run
Before the press starts, the operator checks the blade edge, the backing plate, and the die alignment. The blade should be sharp. The backing plate should be flat and free of debris. The die should be seated in the press bed. The registration marks should be visible and aligned.
The first few cuts are inspected. The edges are checked for chips, marks, or shallow cuts. The cut line is checked against the design line. If the cut is off, the operator adjusts the sheet feed or the die position. If the edge is rough, the blade is checked or replaced.
The run is monitored. The operator watches the stack and the cut pieces. Any change in material batch can affect the cut. A new roll of film or a new batch of board may need a pressure adjustment. The operator makes small changes as needed. The goal is a clean, consistent edge from the first sheet to the last.
Frequently asked questions
What is the difference between a die cut and a punch cut?
A die cut slices along the outer outline of the sheet. A punch cut removes a hole or a small tab from within the sheet. Both use blades and backing plates, but the cut path and the final shape are different.
Can the same die be used for different materials?
Yes, if the materials are similar in thickness and density. A blade that works on thin paper may chip on thick board. The operator may need to adjust pressure or replace the blade when changing materials.
How much registration accuracy does a die cut need?
It depends on the job. Simple packaging may allow a small shift. Labels and fine art prints need tighter alignment. The tolerance should be agreed before the die is made.
What is a multi-station die?
A multi-station die holds several blades or cutting stations in one frame. It can cut different shapes or combine cutting with punching or scoring in one pass. It is used for complex packages or inserts.
How do I know if my die is worn?
Look for chipped corners, blade marks, or uneven cut depth. If the cut line shifts from sheet to sheet, check the die alignment and the backing plate. A worn blade often shows a dull edge or a slight shadow on the cut face.