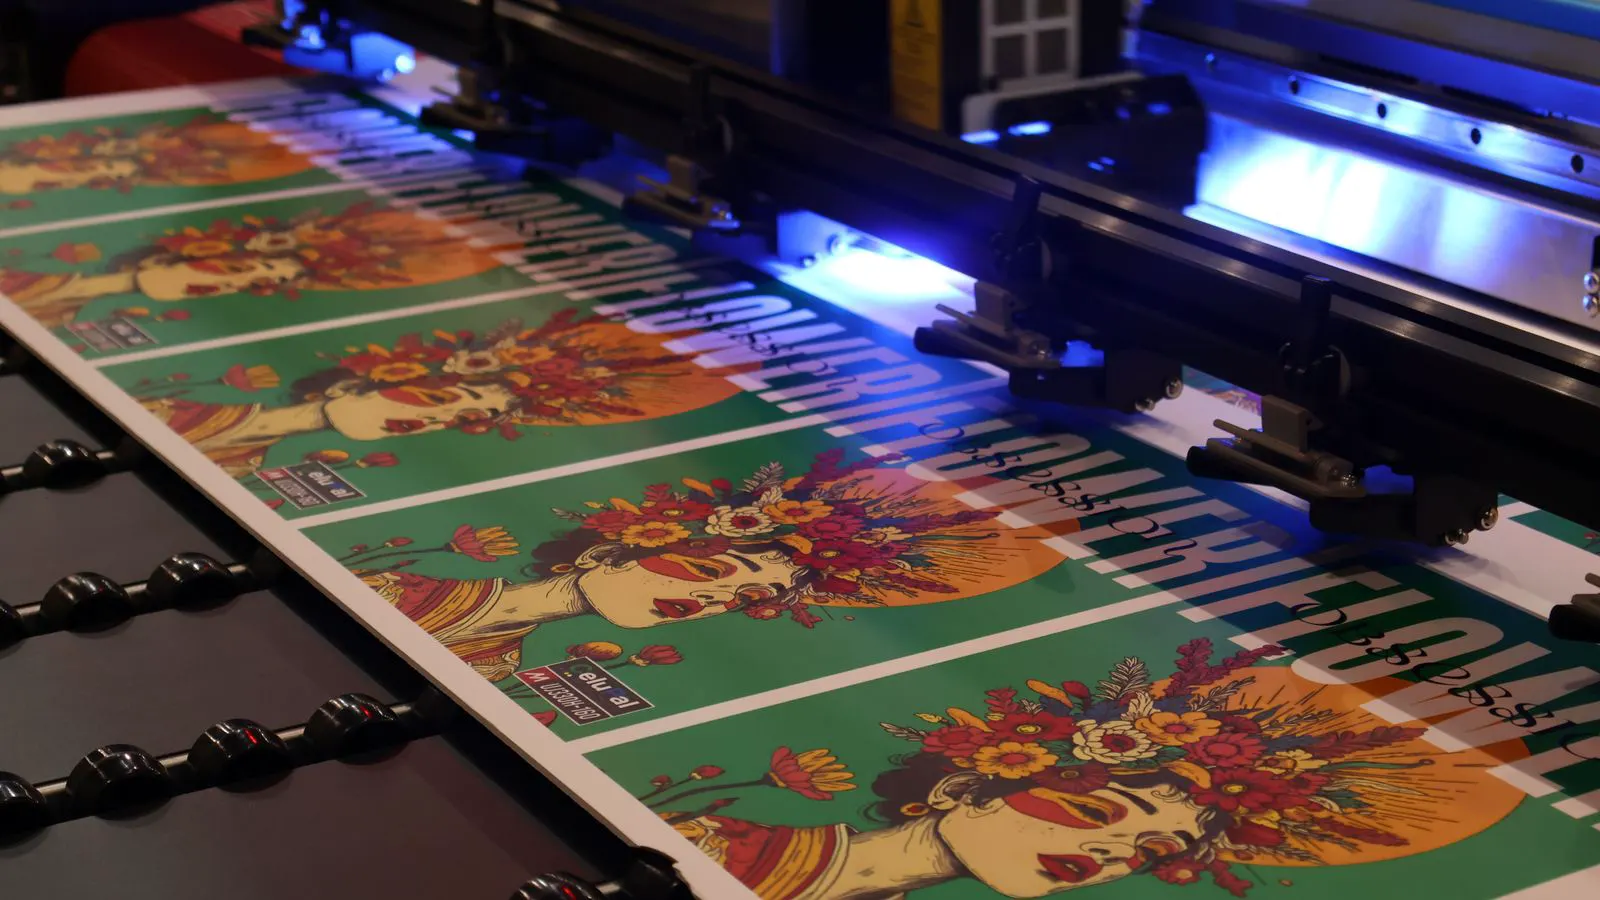
How to Calibrate Inkjet Color for Short Run Jobs
Calibrate inkjet color by standardizing media, verifying profiles, running control strips, and adjusting ICC profiles. Use a densitometer to match target values before releasing a short run job.
- Start every short run job with a media and profile check before running full production.
- Use a control strip and densitometer to verify dot gain and color targets before approval.
- Keep inkjet color calibration settings saved in job templates to reduce variance between similar orders.
- Inspect media feed and head alignment as part of the color check, not just as a separate mechanical task.
Why short runs are harder to calibrate
Short run printing often moves fast from proof to production. The press operator may skip the usual warm up routine, and the job may move to a different media lot than the one used for the proof. Inkjet color calibration is not just about setting the right ICC profile. It is about controlling every variable that affects how the ink sits on the substrate.
If the target file is a single page or a small batch of marketing materials, the press can still shift from one pass to the next. A small change in media lot, humidity, or head alignment can change the final color. The goal is to make the same process repeatable so the client sees the same shade on page one and page fifty.
Prerequisites before running the job
Before you start the inkjet color calibration, gather the tools and materials. You need a reliable spectrophotometer or densitometer, a set of target strips, the correct ICC profile for the media, and a stable production environment.
Check the media lot number. If the proof was printed on a different lot than the production stock, the profile may not match. Ask the printer for the exact media specification. If the client supplied the media, confirm the substrate type, weight, and surface finish.
Verify the press status. Run a mechanical check to confirm the heads are aligned and the media feed is straight. A crooked feed changes the overlap zone. Overlap shifts can cause banding or uneven coverage, which then appears as a color error.
Step-by-step calibration process
1. Print a control strip on the production media
Print a small test strip that includes solid colors, process tints, and a grayscale ramp. Use the same media and speed as the production run. The reason is to isolate the variables. A control strip gives you a fast readout of how the ink is behaving on that specific substrate.
Do not print on a different paper for the test. The surface energy and absorption of the media affect how the ink spreads. If the test is run on a different stock, the profile will not hold during production.
2. Measure the control strip with a densitometer
Place the spectrophotometer or densitometer over the solid color patches. Record the L, a, b, and delta E values. Compare these numbers to the target values in the client proof or the ICC profile.
The reason for this step is to quantify the error. The eye can miss small shifts, especially in neutral grays or low contrast areas. A delta E value above 2.0 is often visible to the client. Adjust the profile or press settings to bring the delta E below 1.5 for a short run job.
3. Check dot gain and gray balance
Measure the dot gain for the cyan, magenta, yellow, and black channels. Dot gain is the amount of ink that spreads beyond the intended dot size. High dot gain darkens the image and reduces detail. Low dot gain makes the image look light and washed out.
The reason for this check is that dot gain directly affects color consistency. If the dot gain is too high, the blacks may look muddy. If it is too low, the highlights may break up. Adjust the head pressure or the ink volume settings to keep dot gain within the range the profile expects.
4. Adjust the ICC profile or press settings
Load the correct ICC profile for the media and press combination. If the measured values do not match the target, adjust the ink volume or the press color management settings. Do not change the profile on a per job basis if you can avoid it.
The reason for this step is to make the correction permanent for the job. If the press has a memory function, save the new settings as a job template. This prevents the next operator from resetting to defaults. It also ensures that the short run job stays consistent if it is paused and resumed later.
5. Run a second test strip
Print another control strip after the adjustment. Measure it again with the densitometer. The reason is to confirm that the first adjustment worked. Sometimes a small change in one channel affects another channel, especially in the overlap zone of the CMYK inks.
If the delta E values are still out of range, repeat the measurement and adjustment. Do not keep printing full pages to test. Use small strips to save media and time. A short run job does not need a full press to verify a color shift.
6. Verify the media feed and head alignment
Check the media path while the press is running. Look for any skew or lateral shift. Run a crosshatch pattern if available to check the head alignment. The reason is that mechanical errors can look like color errors.
If the heads are misaligned, the overlap area will have a different density than the single head areas. This creates a visible line or band in the final print. It is easier to fix the alignment now than to reject the finished job later.
Common mistakes that break color accuracy
Skipping the media lot check
Many operators assume that all stock of the same name is the same. It is not. Different lots can have different surface treatments or coating weights. If you skip the lot check, the profile may be wrong from the start.
Relying only on the proof
The proof is a reference, not a guarantee. The production press may have different head wear or ink viscosity than the one used for the proof. Always verify the production press with a control strip before releasing the job.
Adjusting one channel without checking the others
Changing the cyan ink volume can shift the magenta and yellow values in the overlap zone. If you only look at one channel, you may create a new problem. Always measure the full CMYK set after any adjustment.
Ignoring humidity and temperature
The press room environment affects how the ink dries and how the media absorbs the ink. If the room temperature changes between the proof and the production run, the color may shift. Keep the environment stable and record the conditions if the job is sensitive.
Final verification before release
Run the first few pages of the production job. Inspect them for color accuracy, dot gain, and banding. Use the densitometer on a small area of the first page. Compare it to the target values.
The reason for this final step is to catch any issues that the test strip did not show. The first page often has the highest risk of error because the press is still stabilizing. If the first page is correct, the rest of the short run job is likely to be consistent.
Keep a record of the profile settings, media lot, and measurement values. If the client asks for a second run later, you can recreate the same conditions. This is the difference between a one off job and a reliable process.
| Check item | Tool used | Action if out of range |
|---|---|---|
| Delta E value | Spectrophotometer | Adjust ICC profile or ink volume |
| Dot gain | Densitometer | Change head pressure or ink settings |
| Head alignment | Crosshatch pattern | Run alignment routine |
| Media feed | Visual inspection | Adjust feed guides or tension |
| Gray balance | Densitometer | Adjust black channel or curve |
When to call in a specialist
If the calibration values do not stabilize after two or three adjustments, stop the job. There may be a head clog, a media feed issue, or a profile mismatch that requires deeper troubleshooting. Do not keep printing pages to find the problem.
Check the head status first. If a head is clogged, the color will be missing or uneven. Clean the heads and run the alignment routine again. If the problem persists, review the ICC profile with the media supplier. The profile may not be suited for the specific production conditions.
Keeping color consistency across similar jobs
Short run printing often involves many similar jobs in a row. If the color drifts from one job to the next, the client will notice. Save the calibration settings in a job template. Use the same media lot when possible. Keep the press room temperature stable.
The reason for this is that consistency is harder to achieve than a single perfect print. A client does not want one page to be perfect and the next page to be slightly off. They want the whole job to look the same. By standardizing the process, you reduce the chance of error.
Conclusion
Inkjet color calibration for short run jobs is a repeatable process. It starts with the right media and profile. It uses a control strip and a densitometer to measure the error. It adjusts the settings to bring the values into range. It finishes with a check of the first production page.
Do not skip any of the steps. Each one removes a source of error. When the process is consistent, the color is consistent. That is what the client wants to see.
Frequently asked questions
How often should I run a control strip during a short run job?
Run a control strip at the start of the job and after any adjustment. If the job is long, check the first and last pages to confirm the color stayed stable.
Can I use the same ICC profile for different media lots?
Only if the media supplier confirms the lots are equivalent. Different lots can have different surface properties that affect ink absorption. Always verify with a test strip.
What is a good delta E target for short run printing?
A delta E below 1.5 is usually acceptable for most marketing materials. If the client has a strict brand standard, aim for a delta E below 1.0.
Should I adjust the ink volume or the ICC profile first?
Adjust the ICC profile first if the error is small and consistent. If the dot gain is out of range, adjust the ink volume or head pressure. Measure after each change.
What if the heads are clean and aligned but the color is still wrong?
Check the media lot and the ICC profile. If both are correct, the error may be in the press settings or the ink viscosity. Review the job template and the media specification.